
Camera Simulator
Camera Settings Explanation
Aperture & Depth of Field
Aperture represents the physical opening inside your camera lens. When you select a wide aperture (represented by a low f-number like f/1.4), the lens diaphragm opens wide, allowing light rays to enter from extreme outer angles. These steep rays converge sharply at the focal point, creating a very narrow zone of sharp focus—known as a shallow depth of field.
Any objects positioned in front of or behind this narrow plane of focus are rendered as soft, overlapping circles of light. This visual blur, or "bokeh," creates strong subject separation. It isolates your portrait model, flower, or macro subject, stripping away busy background distractions to guide the viewer's eyes directly to what matters.
Conversely, a narrow aperture (high f-number like f/16) squeezes the light rays through a tiny opening. Because the rays are nearly parallel, they bend gradually, keeping both the immediate foreground elements and distant backdrops crisp and sharp in a single deep exposure.
Medium opening. Deep focus, sharp across the frame.
Updates instantly as you adjust the Aperture control.
Real World Photography Scenarios
High facial detail but messy backgrounds remain distracting and sharp.
The absolute sweet spot. Tack-sharp focus from nearby rocks to horizon.
Deep focus depth helps, but separation bokeh is largely gone.
Restricts light, forcing slower shutters that risk animal motion blur.
Requires extremely bright daylight; stadium lights won't suffice.
Common Beginner Mistakes
The tiny lens opening restricts physical light, forcing the shutter speed to slow down. Without a tripod, this causes overall blur.
Squeezing light through a tiny pinhole causes light waves to bend and interfere (diffraction), which softens details compared to f/8.
Professional Tips
Shoot at f/8 to f/11. Lenses are typically sharpest here; f/16 starts introducing minor softening due to diffraction.
Shoot light sources (like the sun or streetlamps) at f/16 to create a beautiful starburst/sunstar effect.
Interactive Challenges
Set the mode to Aperture Priority (A) or Manual (M) and rotate the dial to achieve a wide opening. Update the camera settings in the simulator above, then verify your results in the live feedback panel.
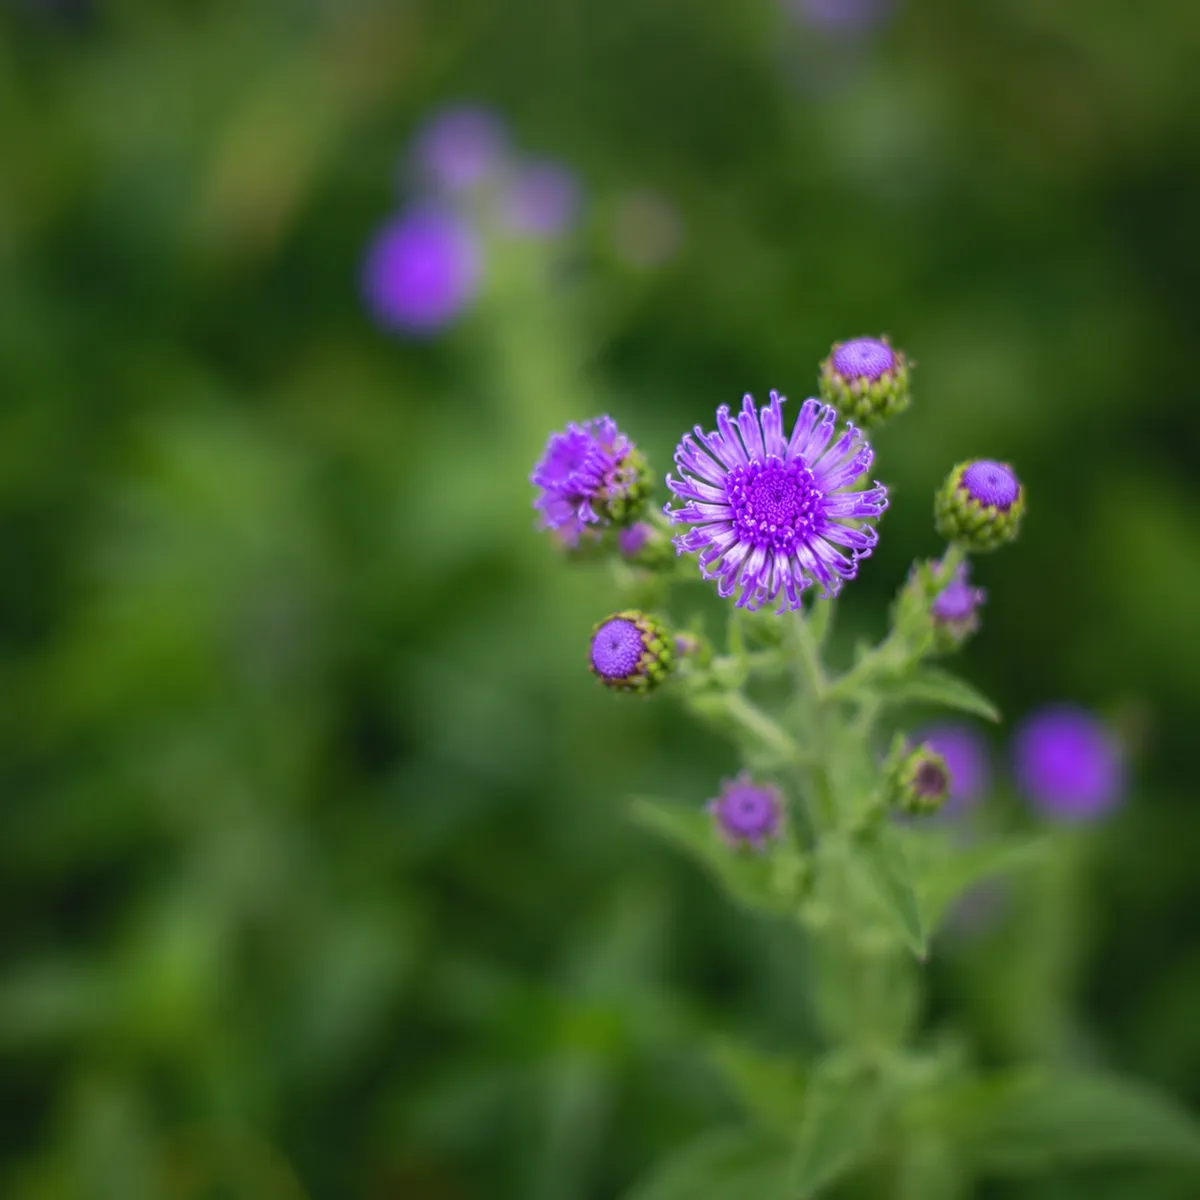
❌ Background is still quite sharp. Try a wider aperture to get more subject separation.
Continue Learning
Ready to apply these concepts?
Upload one of your own photographs to the Photo Analyzer. Our AI coach will diagnose your settings, identify improvement areas, and suggest exact aperture, shutter, and ISO adjustments.